
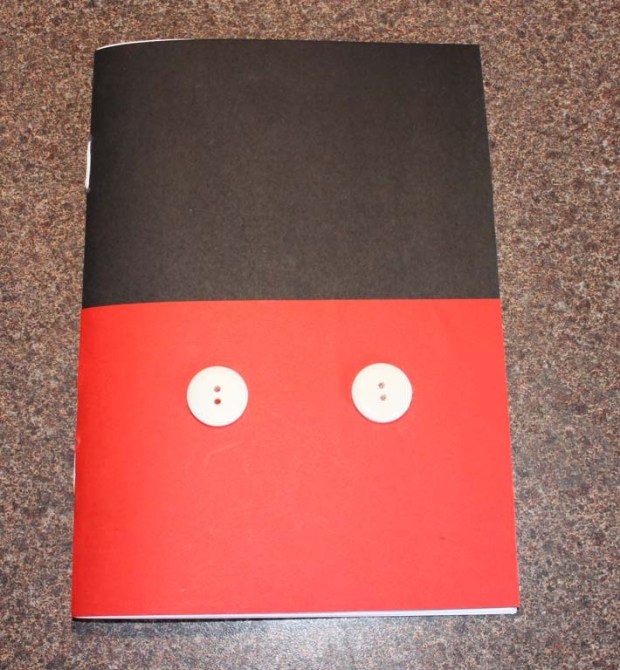
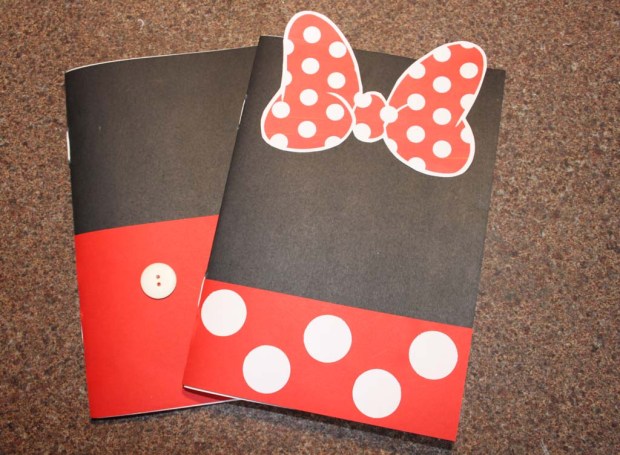
Everyone loves Disney, and with this quick and easy DIY, you can make your very own Mickey Mouse notebook!
What you’ll need:
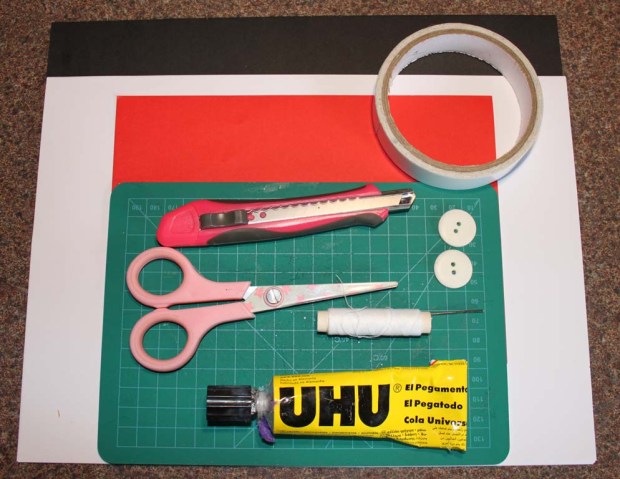
- 1x sheet A4 black card
- 12x sheets of white printer paper
- 1x A5 red paper
- 2x white buttons
- Scissors
- Darning needle
- Thread
- Craft knife
- Ruler
- Double sided tape
- Glue
Step 1
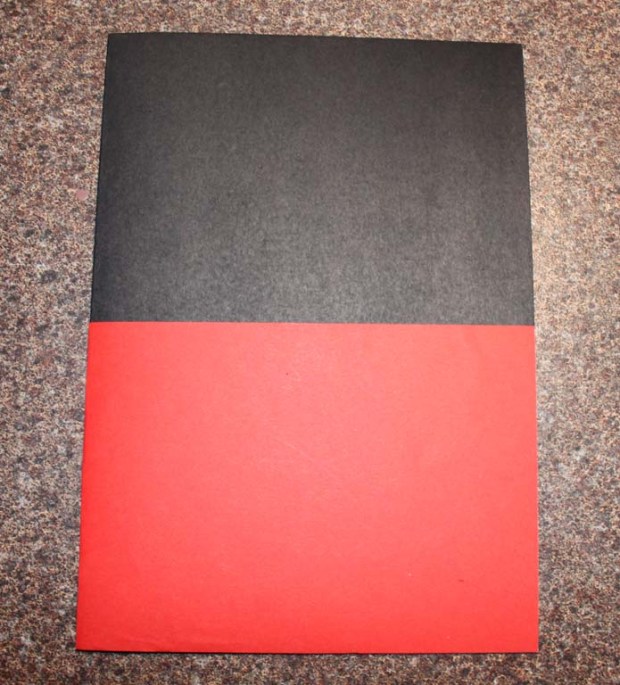
Fold the sheet of black card in half.
Step 2
Cut the red paper so that it fits the bottom half of your folded black card and attach with double sided tape.
Step 3
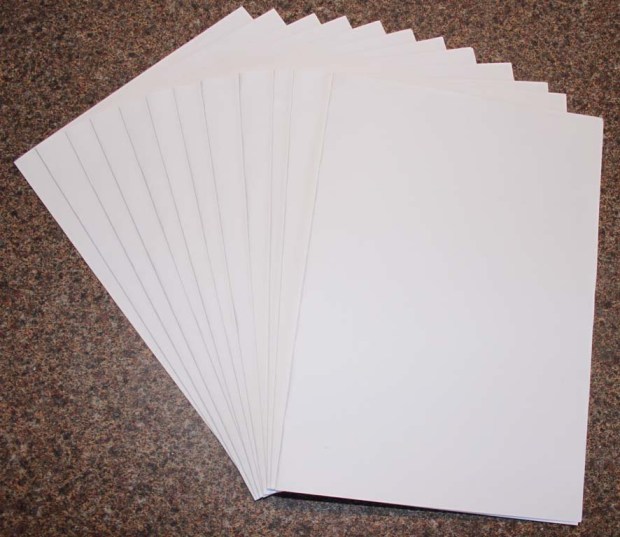
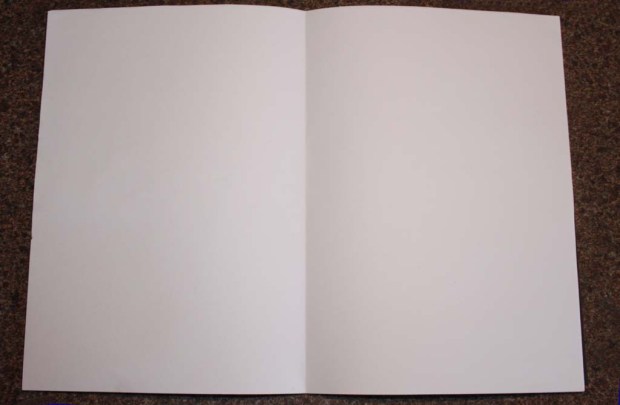
Fold all of the white sheets of paper in half, and stack one inside the other.
Step 4
Place the black card at the back of your folded paper.
Step 5
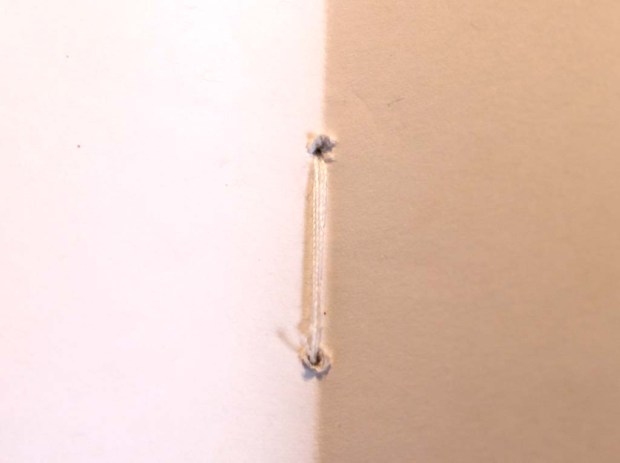
Measure 4 cms from the top and make a hole (I used a drawing pin) and the same at 6cms. Do this from the bottom too. Using the darning needle and thread, sew through the holes at the top and tie off. Repeat at the bottom.
Step 6
Close your notebook. You’ll notice the pages stick out. Don’t worry, simply cut away the excess with your craft knife and ruler. Be careful as the knife is sharp, and protect your surface underneath.
Step 7
Glue the buttons to the red paper on the front. Voila!
I also made a Minnie Mouse notebook, using the same method. For this book, I used half the size of red card and decorated with white circles. I also added a bow, (found here http://eng.ohmyfiesta.com/2013/10/minnie-heads-and-bows-free-printables.html).
You could make this in a smaller size to make a cute autograph book for your next trip to Disneyland!
